Social Emotional learning meets Language! Perhaps the most important aspect of early childhood education is social emotional content. Teaching lessons as a group is one thing, but incorporating independently chosen activities is another. That’s why I adore these greeting cards. Students can choose to make one and thusly practice social emotional skills on their own!
I have had several classes of students who have made at least one greeting card a day. It could be the coloring that captures their interest, or that they get to take these home. But I think more than anything, they find joy in making something for someone else. Let me walk you through how we use greeting cards in my Montessori classroom.


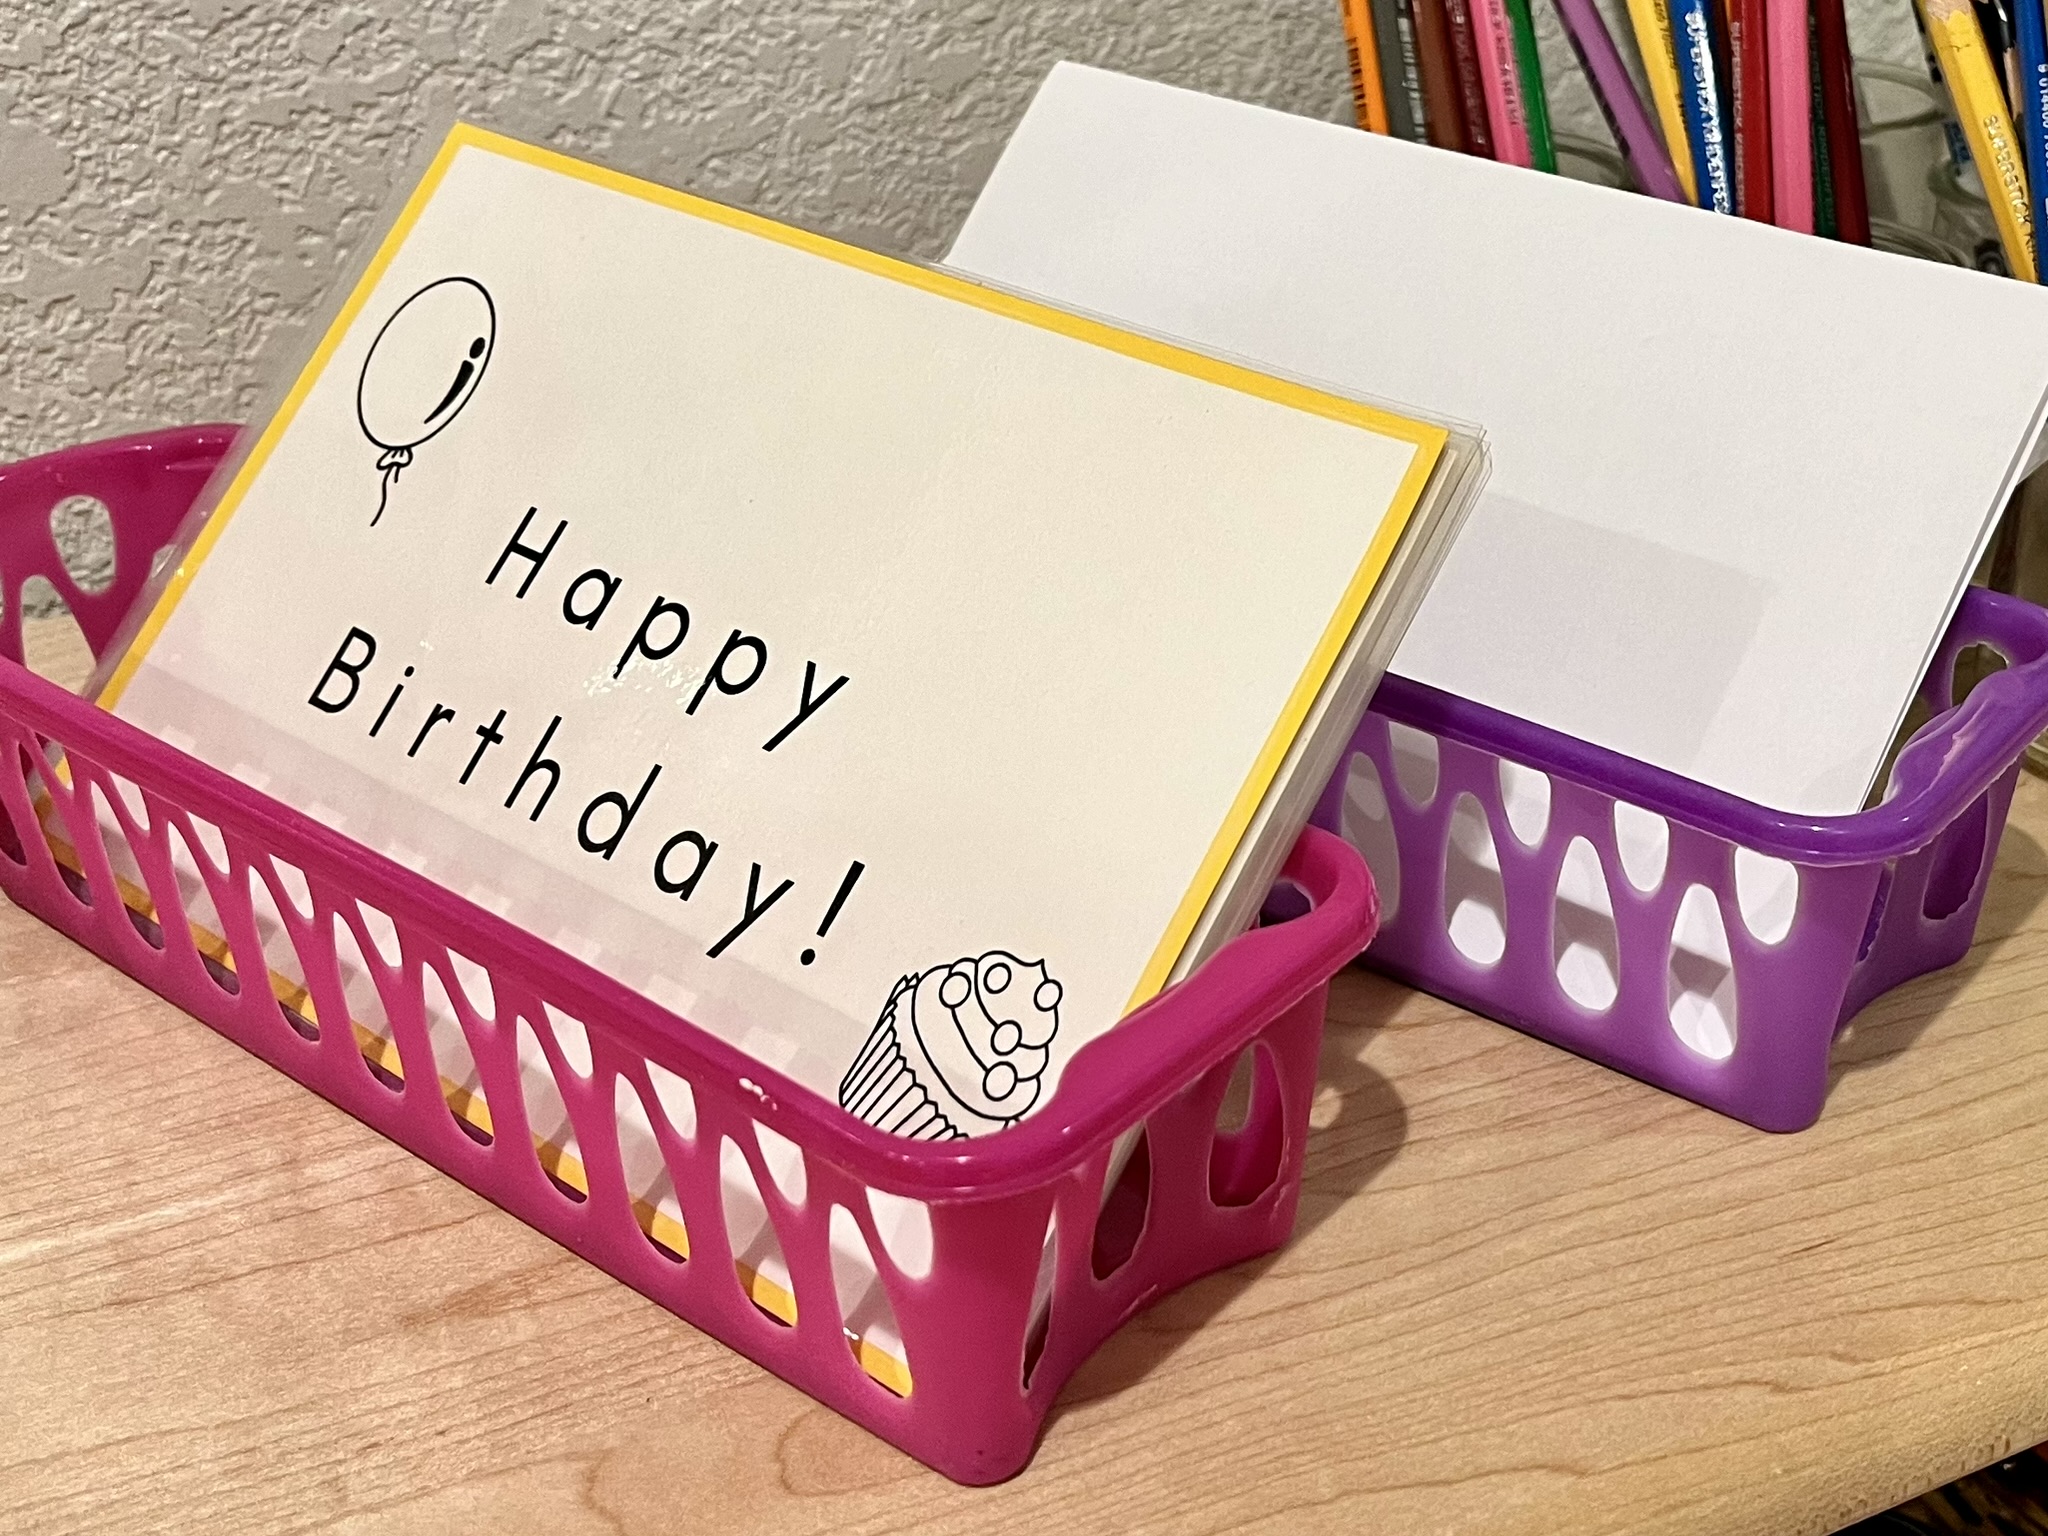
At the beginning of the year, I’ll print out cards with solid lettering, to focus on the card messages and proper use of “to” and “from”. Two card options is plenty to start with. I like to have the Happy Birthday card and I Miss You card available.
The Lesson
The initial lesson lends itself well to a whole group lesson at circle time. I’ll hold up the Happy Birthday card first, ask my students what it is, and explain if necessary. Then I’ll ask them to raise a hand if they can tell me who they could make a birthday card for. During our calendar time we reference the birthday calendar each month and update the whiteboard calendar with that month’s birthdays. We’ll count how many days until each birthday too. So the class is pretty well aware of what birthdays are coming up. Of course, I’ll also discover various family members who have had birthdays recently (or really, who had a birthday last), when someone’s birthday is, and probably what kind of birthday party they are going to have.

But getting back to the point, I’ll use the calendar to identify an upcoming birthday and model writing the card to that person. I’ll color the pictures and hold my finished work up for everyone to see. Then I’ll write “to” and “from” on the large whiteboard, open the card and explain that part of this work is filling out who the card is to and who it is from. “I’m writing this card to Isabelle. This says “to”. To Isabelle.” I’ll find Isabelle’s name card and model looking at it to write her name next to “to”. “From. This card is from me. My name is Laura. From Laura.” Then I’ll write my name next to “from”.
My classroom uses Finished Folders to collect work throughout the week, which then goes home at the end of the week. When I finish the card to Isabelle, I put it in her folder. I’ll model using her name card again to locate her folder. Students can put their finished greeting cards in their own folder to take home or in a friend’s folder if they made the card for them.

Next, I’ll show students the I Miss You card and we’ll discuss who they might make one of these cards for. On the big whiteboard I’ll write their responses. To wrap up the lesson and dismiss students to choose their work, I’ll invite students one at a time to practice writing or tracing their name in the “from” space.
Learning in Progress
Monitoring students as they write cards is important, to ensure that they are not skipping the name writing step. To and from is not a concept they are likely to get on the first try either. Young students have a tendency to write their name first which means it end up in the “to” space. They can also confuse “from” as “for”. Eventually, they can fill them out with accuracy, independently.


Another tool I like to use in the classroom is a word box. The word box is a place where we store words that students ask to spell. A lot of our words are names that are requested when a student is making a card. When a student asks how to spell their grandmother’s name or a neighbor’s, I’ll walk them over to the word box, check to see if that name is already in there, and select a blank card if it is not. I’ll write the name on the card and after the student has copied it, I’ll show them where it will live in the word box. Our word box is alphabetical and all the words for each letter are stored behind the letter. There are lots of ways to set up word boxes or word walls. Choose the method that works best for your class and space.

Keep in mind that these cards are quite appealing to children and they may make the same card to the same person, every day. I had a student who made a birthday card for her stuffed dog each day. Her mom reported that after school, without fail, a birthday party was thrown for this stuffed dog!
As students get the hang of writing cards and more are doing it independently, you can start introducing different types of greeting cards. The introduction of each one makes for a great social emotional lesson. You can also make the switch to cards with traceable letters. Eventually (say when you’re tired of making endless copies of cards), you can set out blank folded paper and a set of laminated greeting cards, to encourage students to make their own!


Other extensions could include Holiday Cards, paper folding, envelope construction, address writing, stamp and address placement, and so on!